Introduction
Deploying a Next.js 15 app to the cloud usually involves Docker or vendor lock-in, but with Paketo Buildpacks and Miget Platform, you get zero-config, containerized deployment+SSL, no Docker expertise needed. This guide gives you a step-by-step walkthrough:
- Scaffold Next.js
- Structure your app/ folder
- Configure build settings
- Run and test locally via pack
- Deploy seamlessly to Miget Platform
Why Use Paketo Buildpacks + Miget Platform for Next.js?
- Abstract Docker complexity: no need to write or maintain
Dockerfiles - Standardized, reproducible builds - perfect for CI/CD
- Built‑in security & SBOM through Paketo
- Paketo Buildpacks
- One-command deploy with
git push miget - Automatic HTTPS, scaling, environment variables, and edge network support
Read more about Node.js Paketo Buildpacks here
Prerequisites
pack CLI (Paketo's Cloud Native Buildpacks tool)Install pack CLI (macOS via Homebrew):
brew install buildpacks/tap/pack
Or follow the official pack install guide.
Step 1: Create a Next.js 15 Project
> npx create-next-app@15 hello-world-app
Need to install the following packages:
create-next-app@15.4.1
Ok to proceed? (y) y

✔ Would you like to use TypeScript? … No / Yes
✔ Would you like to use ESLint? … No / Yes
✔ Would you like to use Tailwind CSS? … No / Yes
✔ Would you like your code inside a `src/` directory? … No / Yes
✔ Would you like to use App Router? (recommended) … No / Yes
✔ Would you like to use Turbopack for `next dev`? … No / Yes
✔ Would you like to customize the import alias (`@/*` by default)? … No / Yes
(...)
Step 2: Add the Main Page
Create app/page.tsx:
export default function Home() {
  return (
    <div className="container">
      <h1 className="title">Hello World!</h1>
      <p className="description">Welcome to your Next.js 15 app deployed to Miget!</p>
    </div>
  )
}
Step 3: Set Up Global Layout
Create app/layout.tsx:
import type { Metadata } from "next";
import { Geist, Geist_Mono } from "next/font/google";
import "./globals.css";

const geistSans = Geist({
  variable: "--font-geist-sans",
  subsets: ["latin"],
});

const geistMono = Geist_Mono({
  variable: "--font-geist-mono",
  subsets: ["latin"],
});

export const metadata: Metadata = {
  title: "Create Next App",
  description: "Generated by create next app",
};

export default function RootLayout({
  children,
}: Readonly<{
  children: React.ReactNode;
}>) {
  return (
    <html lang="en">
      <body
        className={`${geistSans.variable} ${geistMono.variable} antialiased`}
      >
        {children}
      </body>
    </html>
  );
}
Step 4: Add Global Styles
Create app/globals.css:
* {
  margin: 0;
  padding: 0;
  box-sizing: border-box;
}

body {
  font-family: -apple-system, BlinkMacSystemFont, 'Segoe UI', Roboto, sans-serif;
  background: linear-gradient(135deg, #667eea 0%, #764ba2 100%);
  min-height: 100vh;
}

.container {
  min-height: 100vh;
  display: flex;
  align-items: center;
  justify-content: center;
  flex-direction: column;
  padding: 2rem;
}

.title {
  font-size: 3rem;
  color: white;
  margin-bottom: 1rem;
  text-align: center;
  font-weight: bold;
  text-shadow: 2px 2px 4px rgba(0,0,0,0.3);
}

.description {
  font-size: 1.2rem;
  color: rgba(255, 255, 255, 0.9);
  text-align: center;
  max-width: 600px;
  line-height: 1.6;
}

@media (max-width: 768px) {
  .title {
    font-size: 2rem;
  }

  .description {
    font-size: 1rem;
  }
}
Step 5: Configure Next.js for Production
Create next.config.js:
/** @type {import('next').NextConfig} */
module.exports = {
  output: 'standalone',
};
➡️ This enables standalone server output - ideal for container builds.
🗑️ Delete any TypeScript config (next.config.ts) to avoid confusion.
Step 6: Build Locally with Paketo (Optional)
Test your build WITHOUT writing Dockerfile:
pack build --env NODE_ENV=production hello-world-app
This uses Paketo’s Node.js buildpack, auto-detecting your Node version (via engines in package.json or BP_NODE_VERSION) and build a docker image that you can run in a next step.
If pack build fails, more likely Miget build will fail too! Fix your code and retry this step.
Step 7: Run Locally in Docker (Optional)
docker run -e NODE_ENV=production -e PORT=5000 -p 5000:5000 hello-world-app
Visit: http://localhost:5000
Step 8: Deploy to Miget Platform
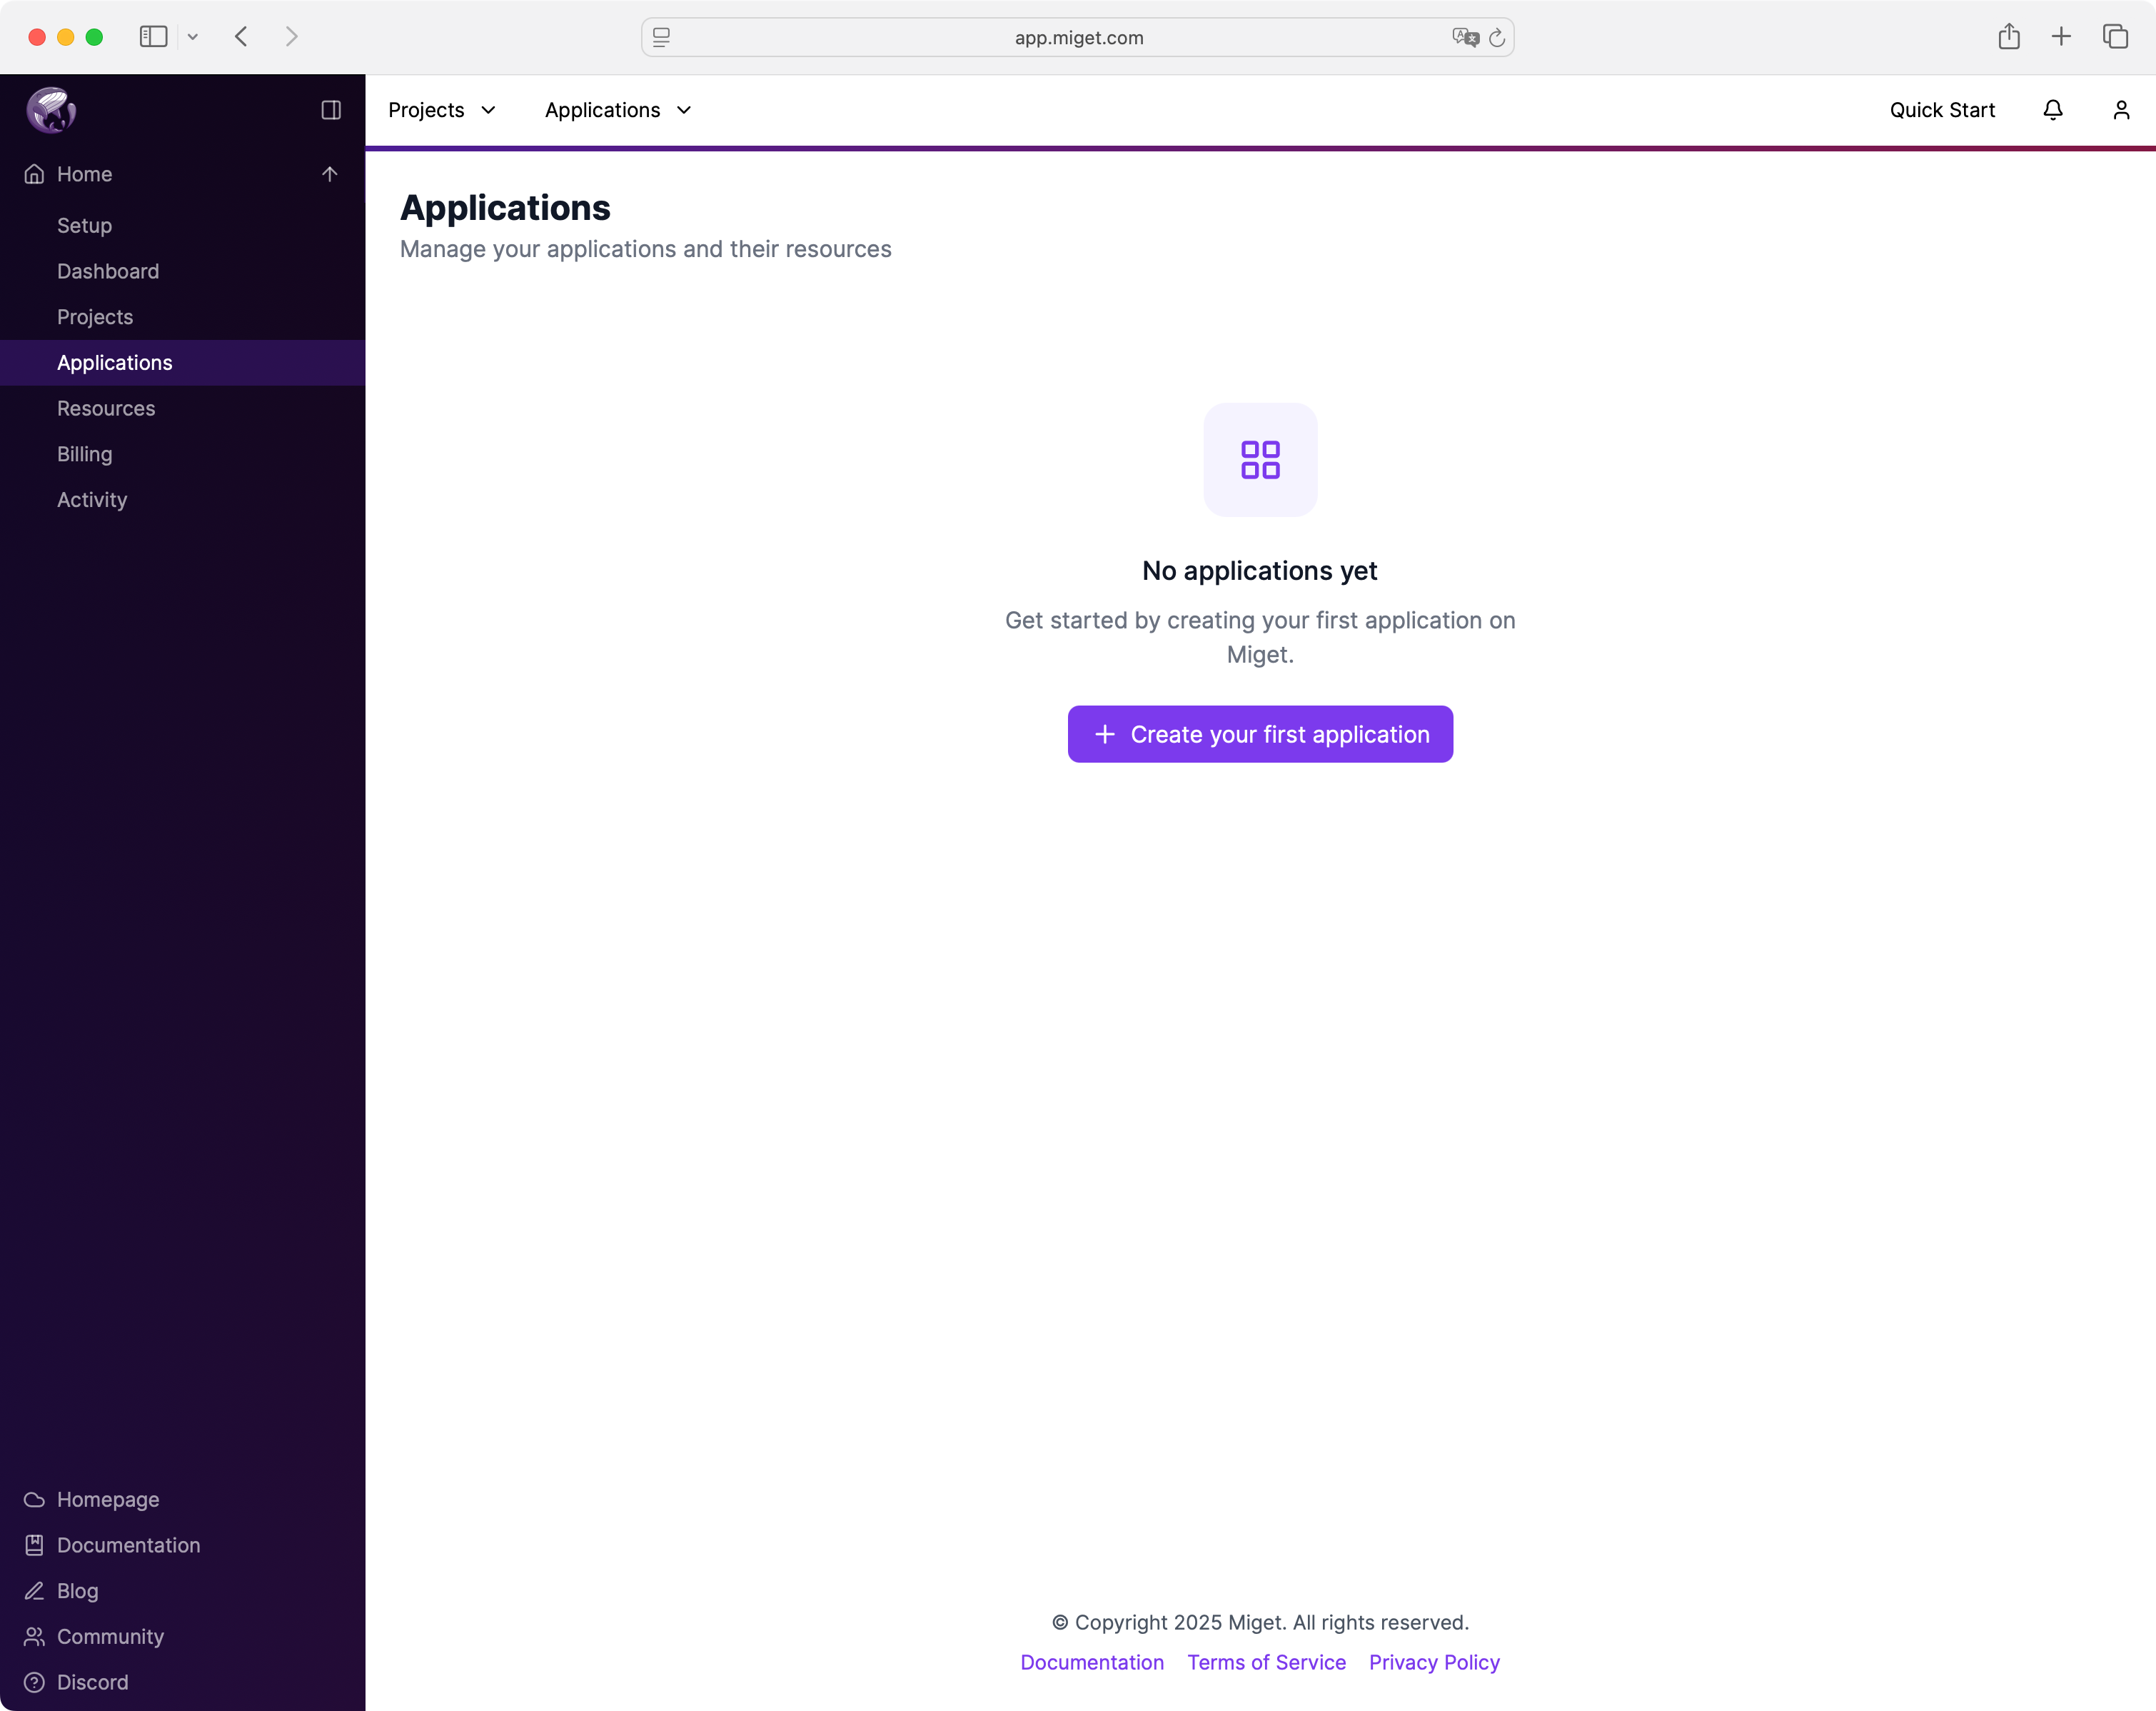
Create an App in Miget Platform
Navigate to Applications section in the sidebar and click + Create your first application.
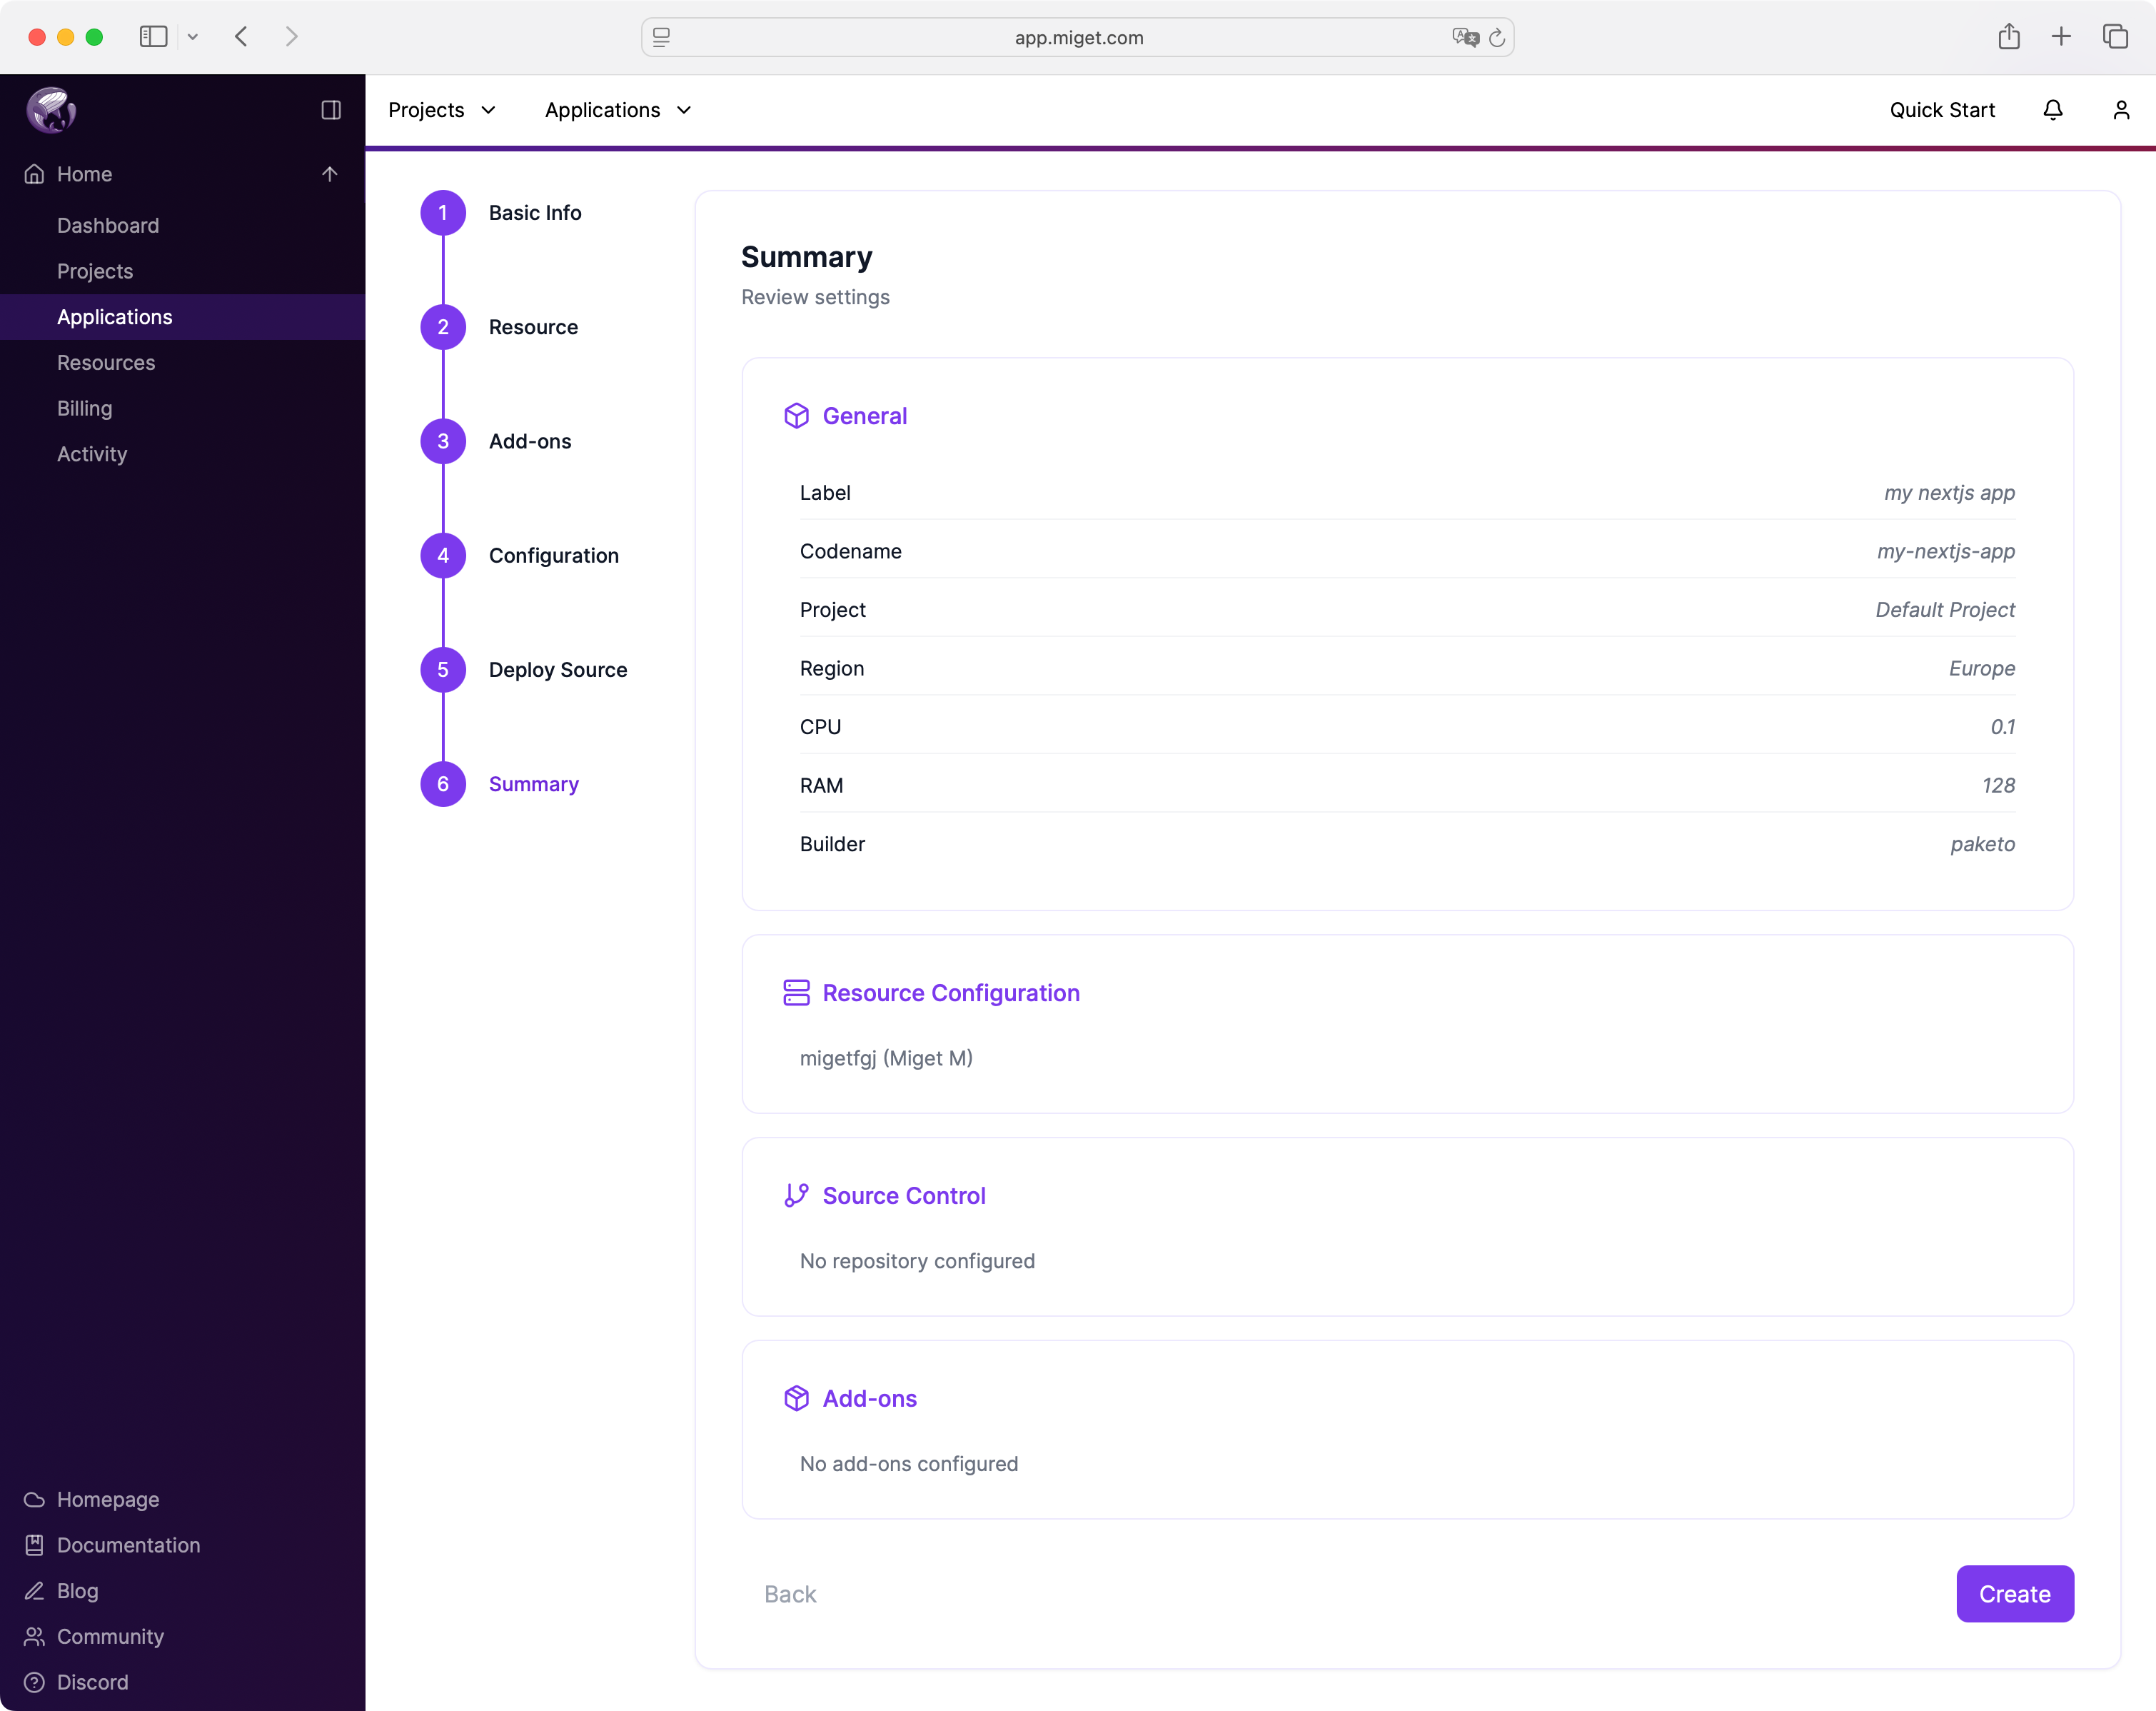
Fill out basic info:
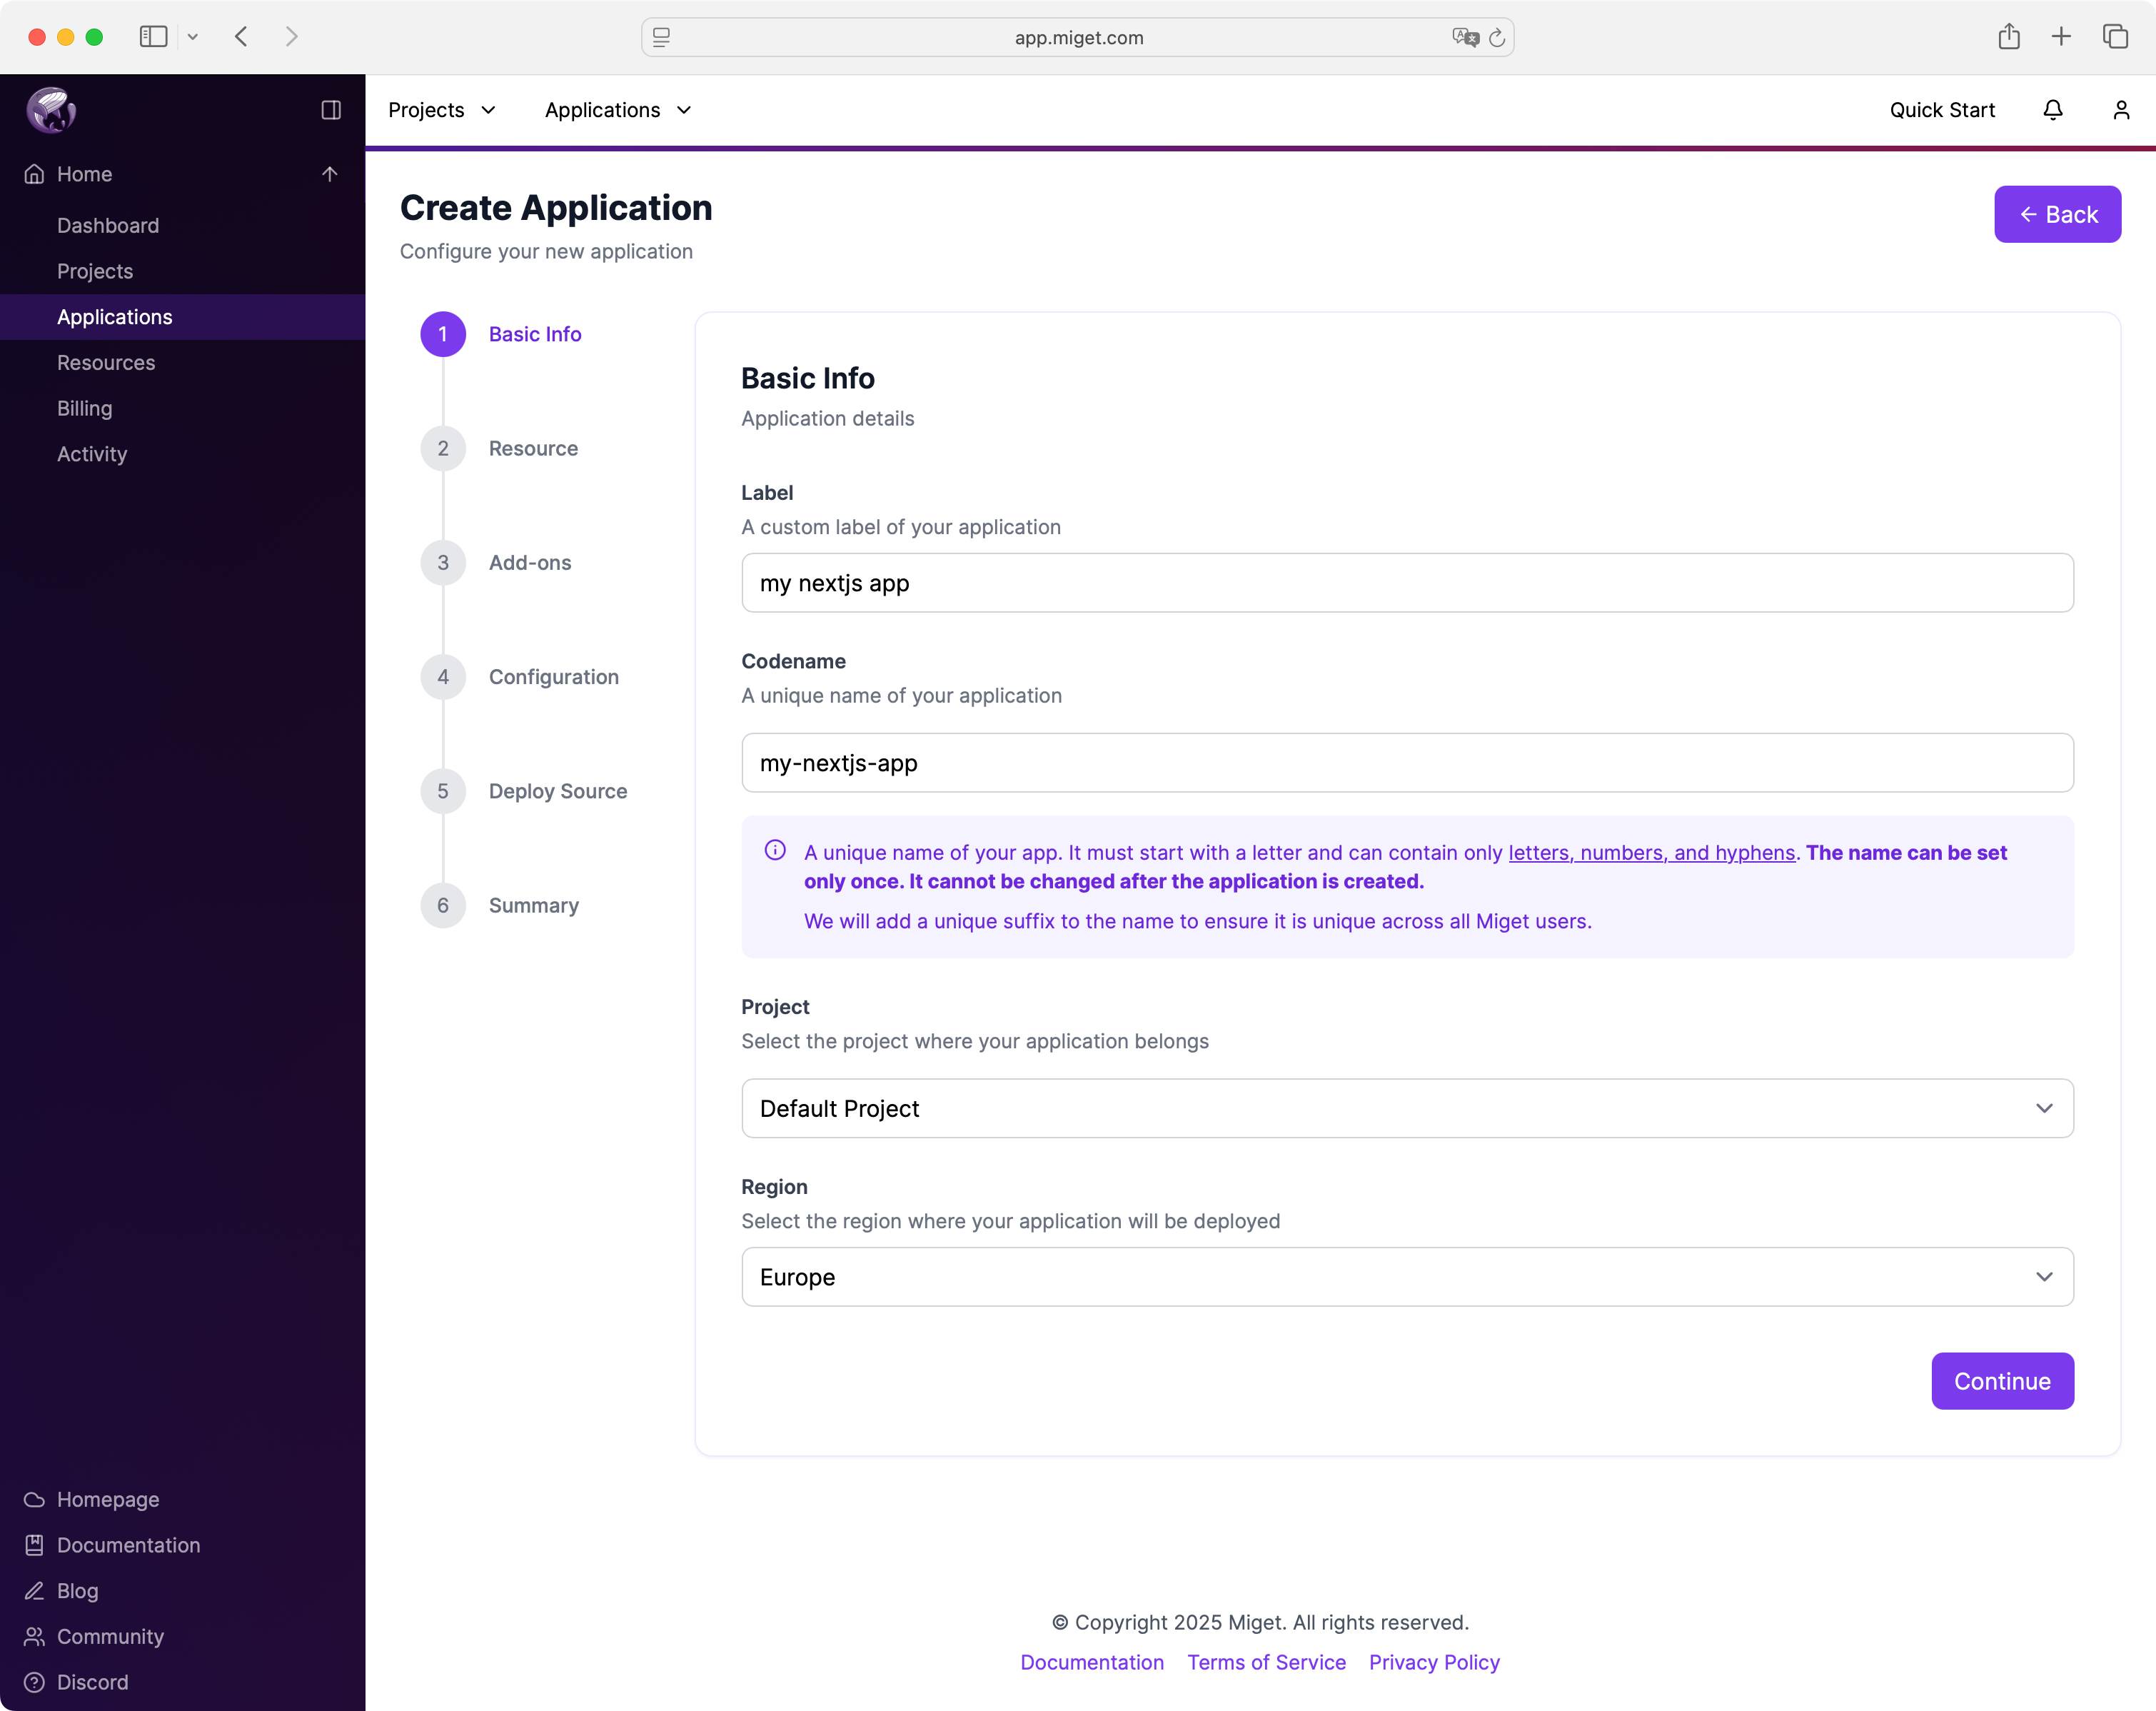
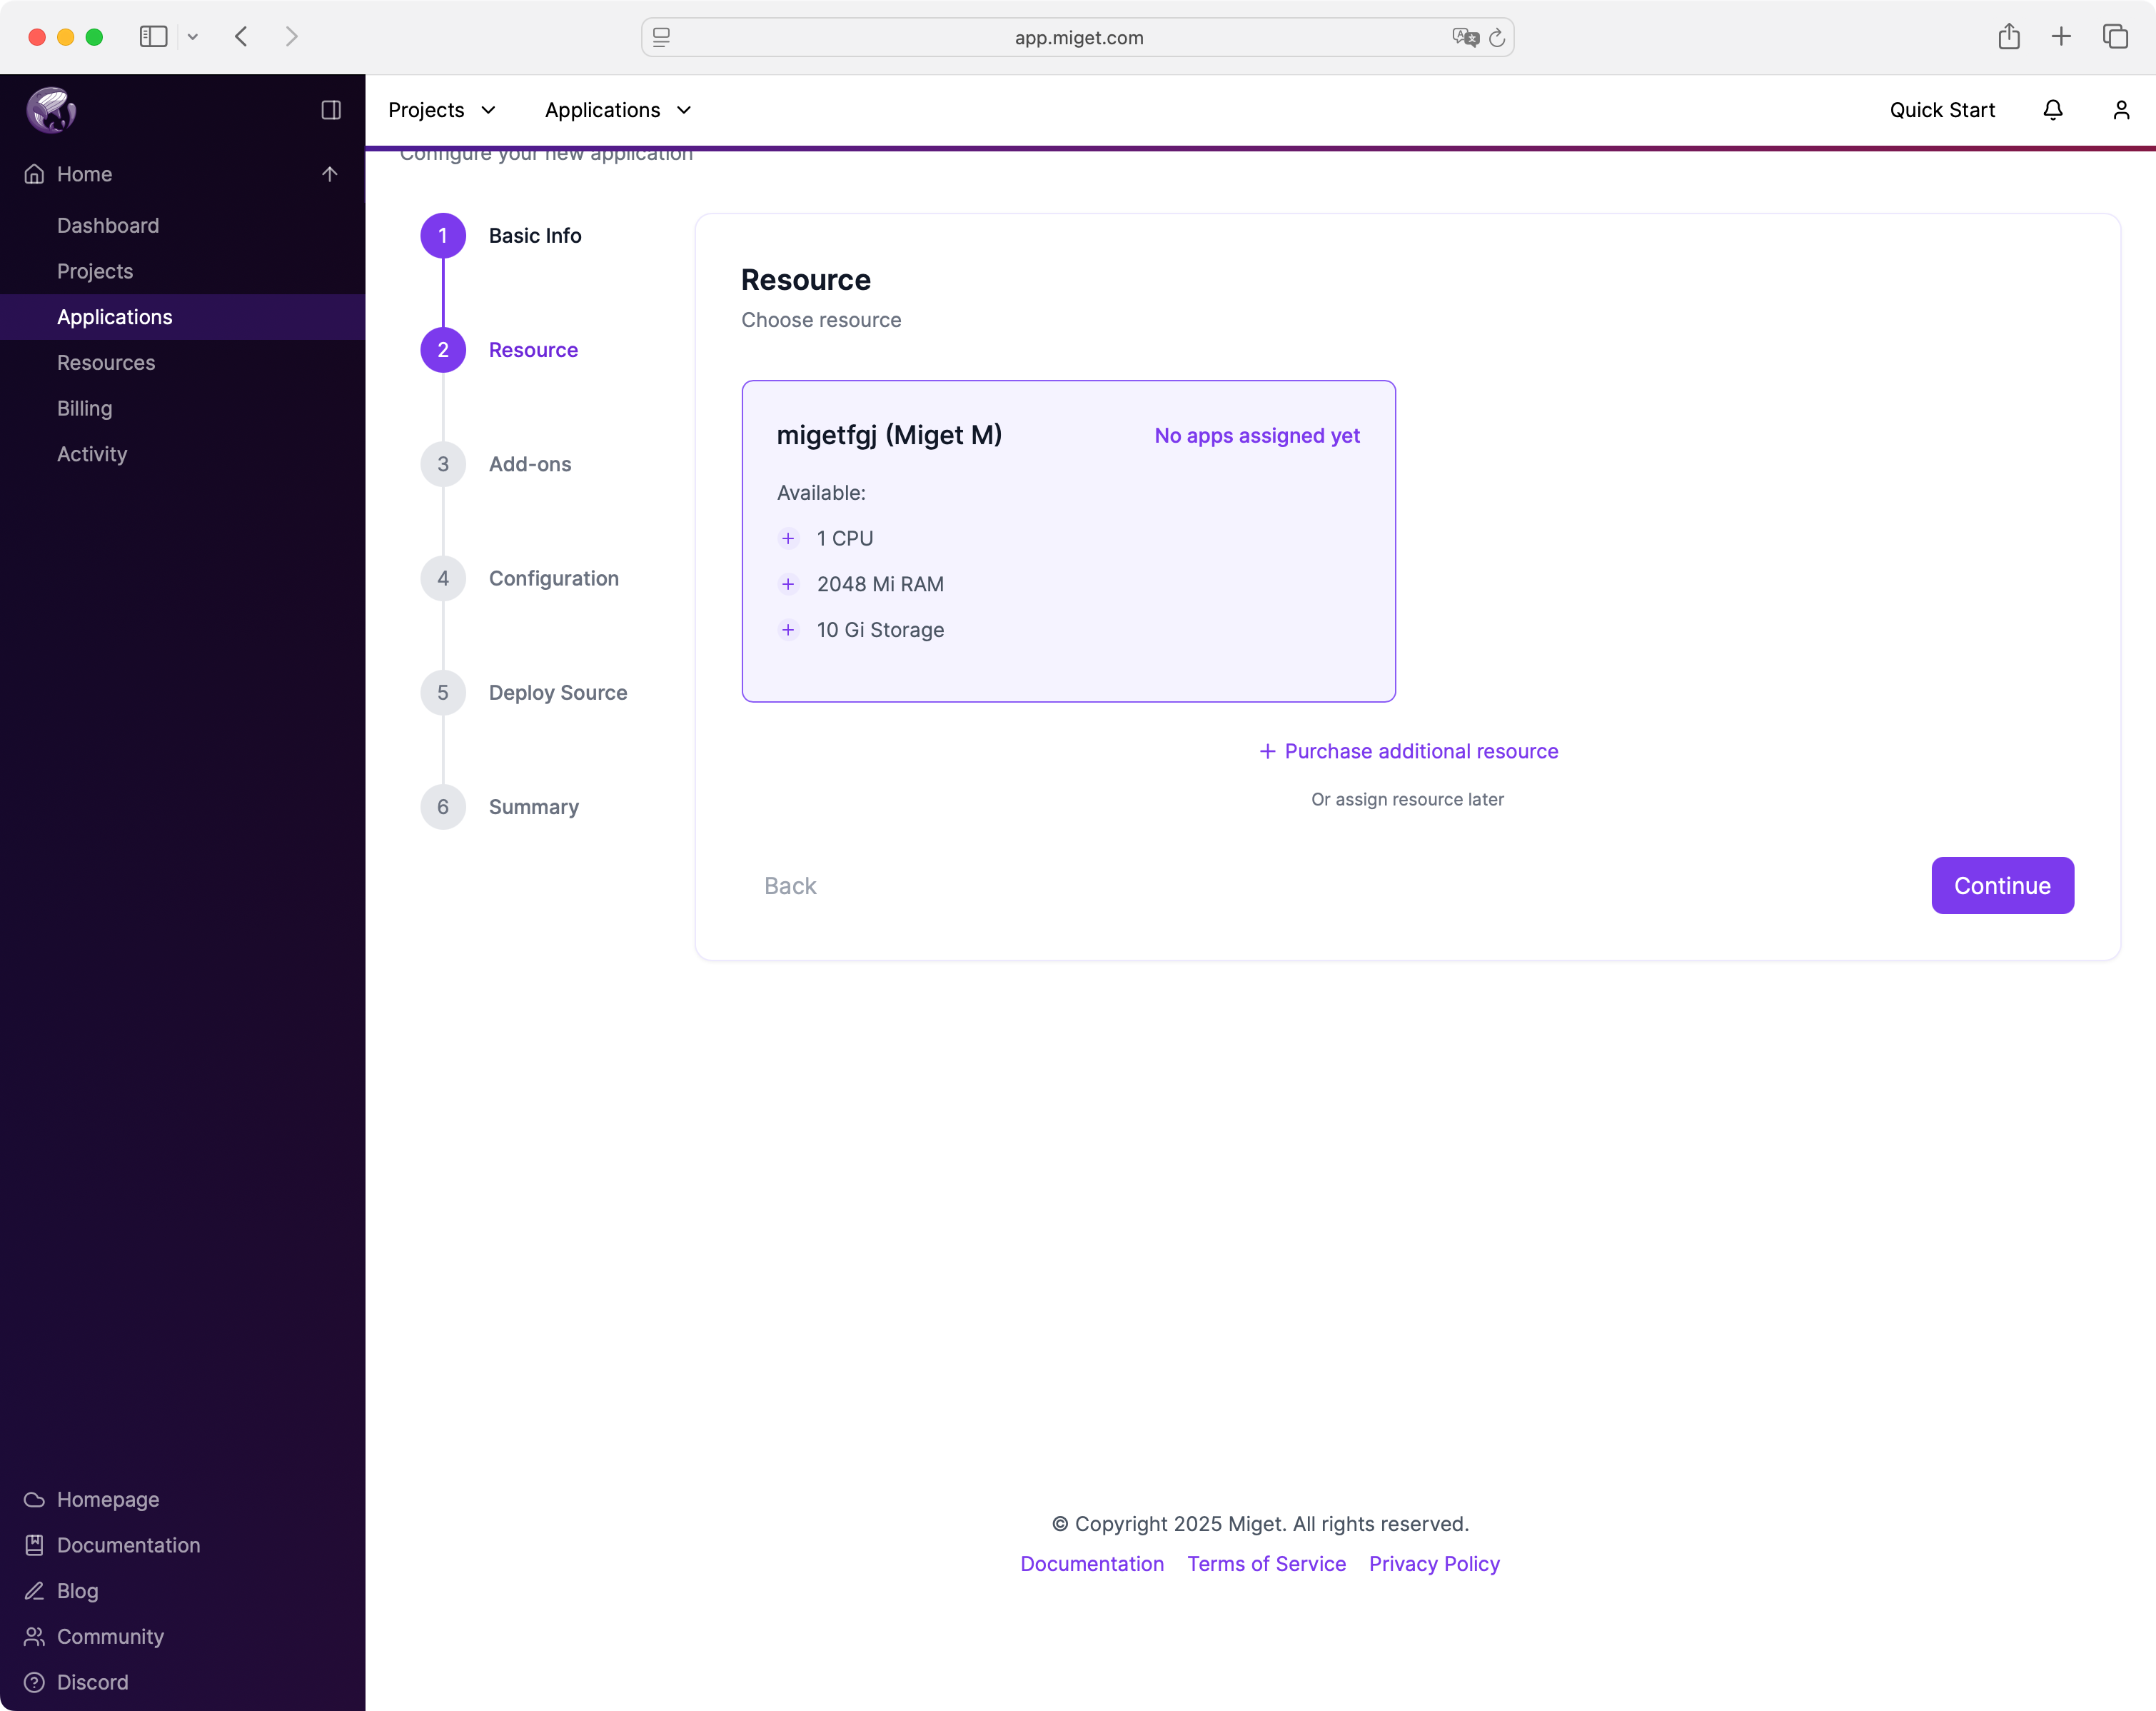
Choose a project and region (e.g., Default Project and Europe), then click Continue.
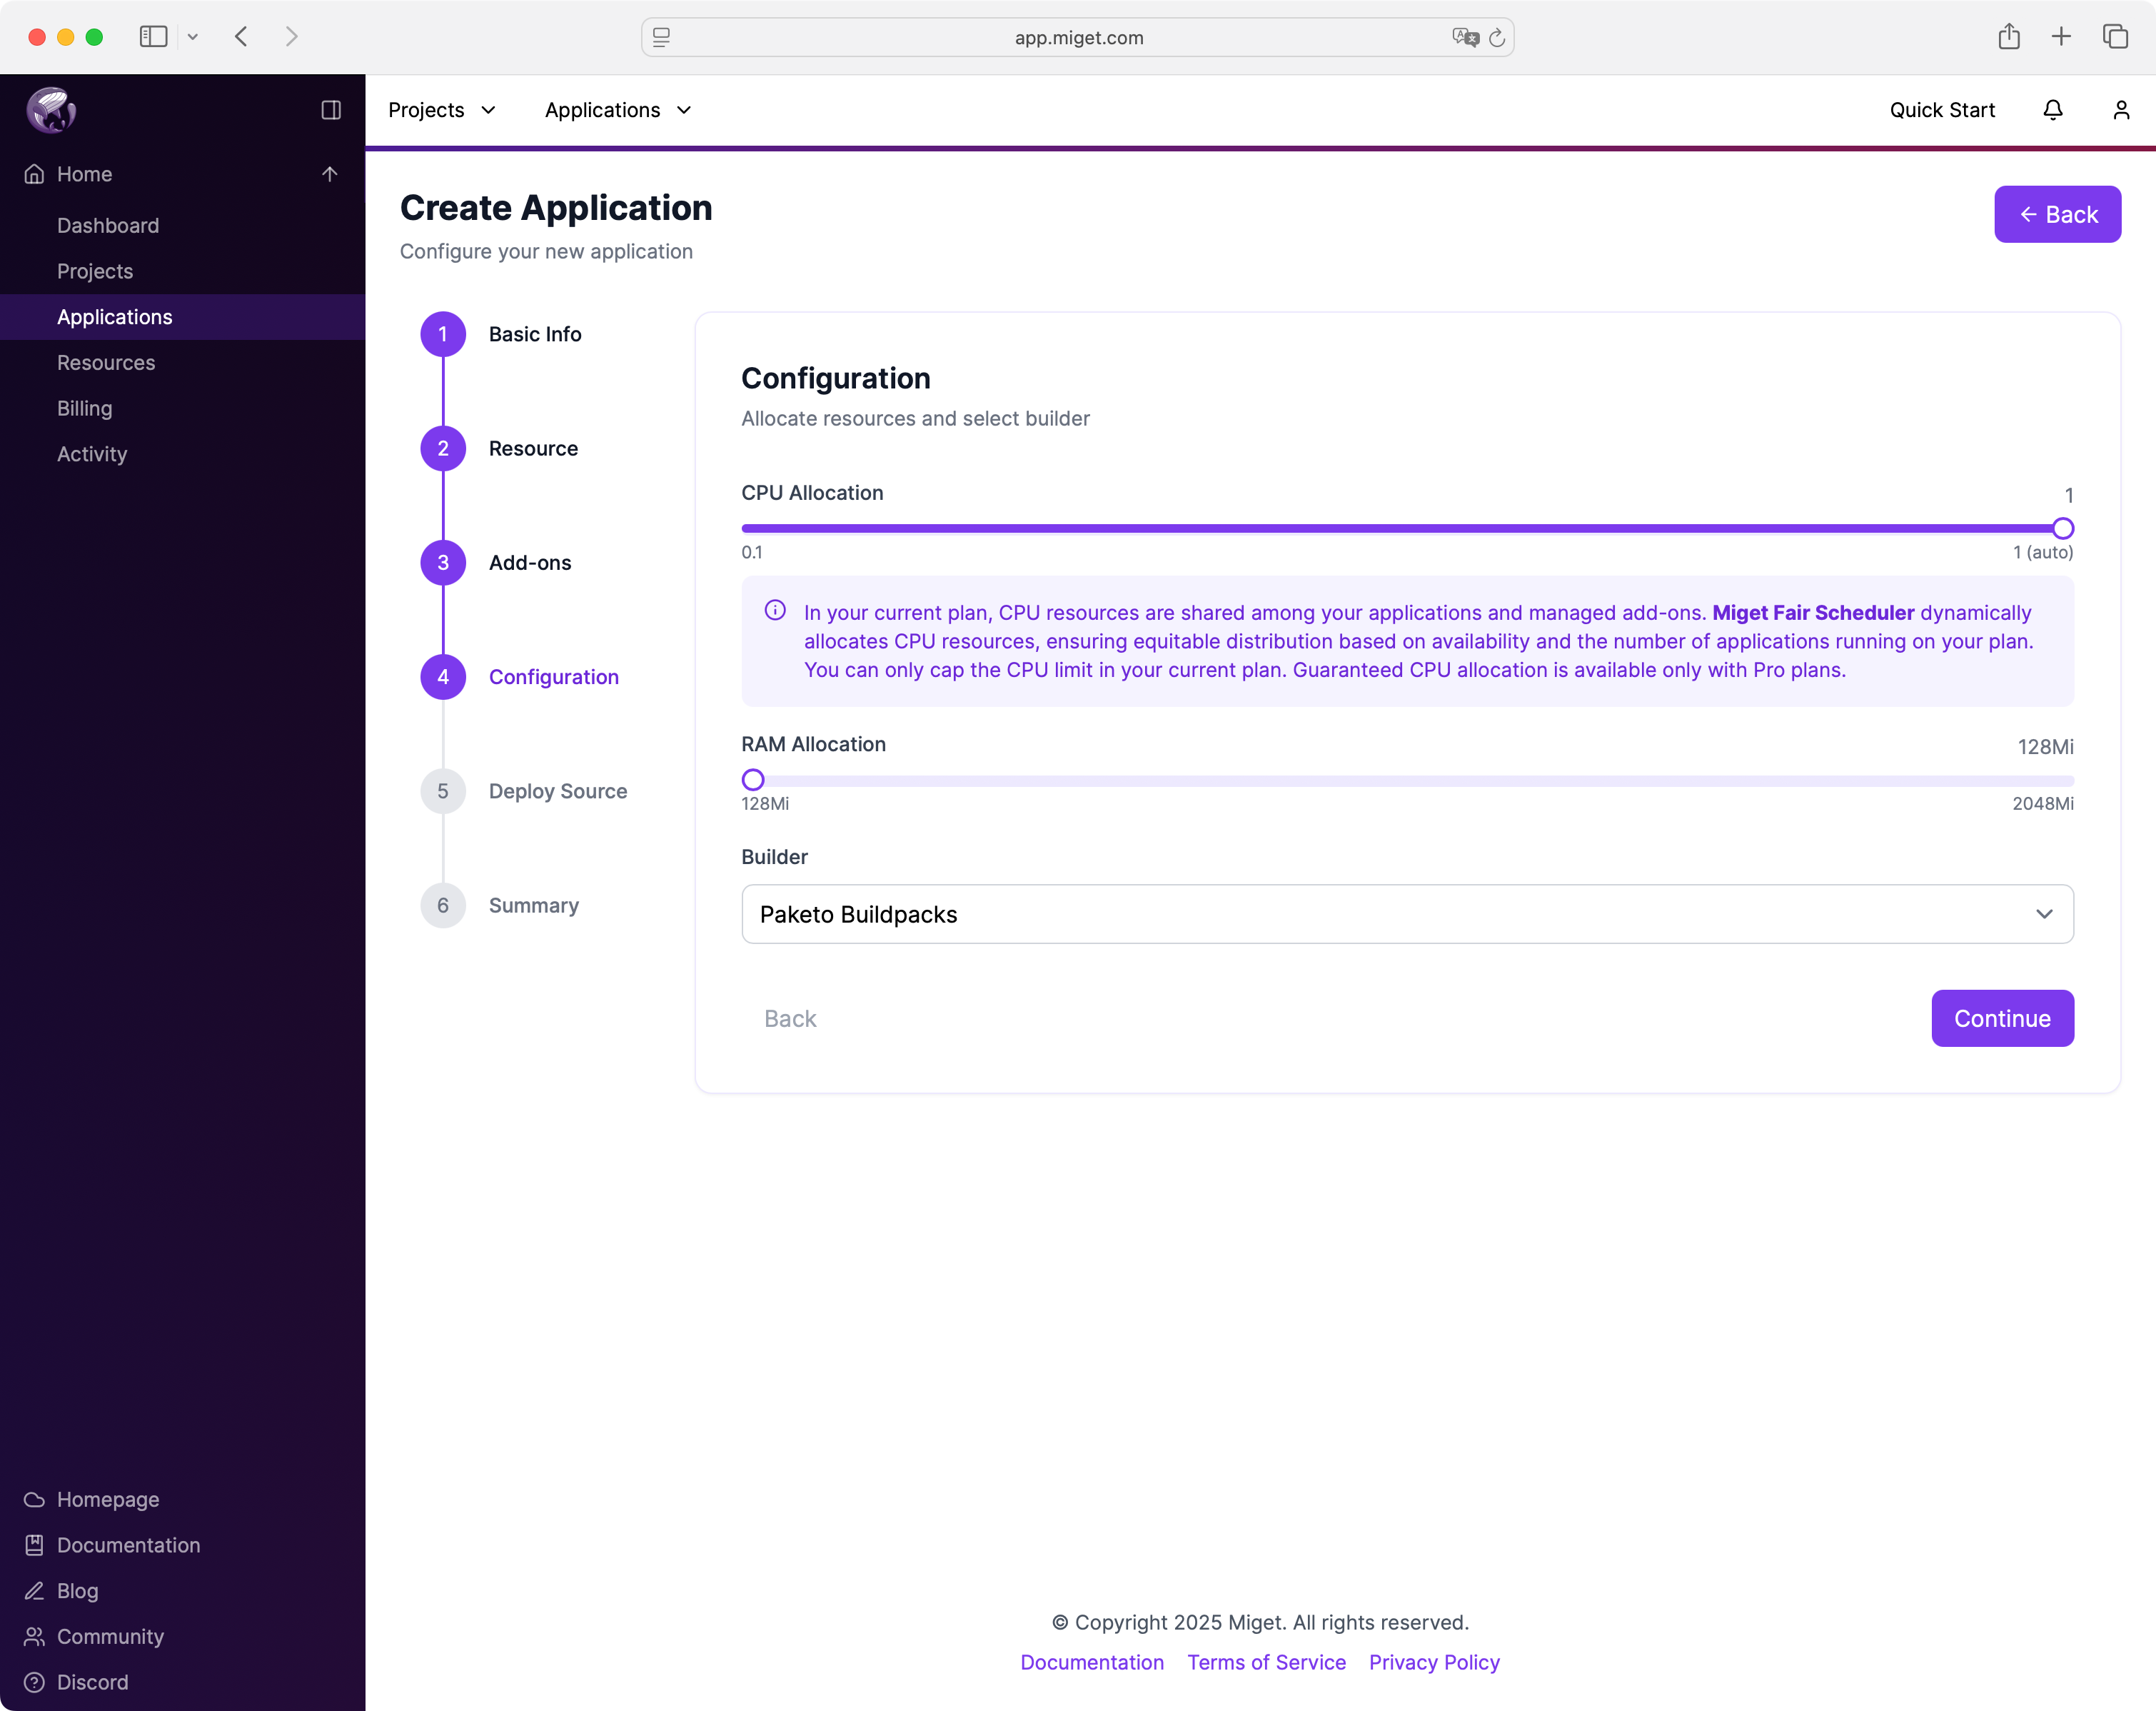
Allocate CPU and RAM depending on your needs. For a basic app, start with 0.1 CPU and 128Mi RAM. Then, select the Paketo Buildpacks builder.
Review the configuration, and click Create to finalize your application.
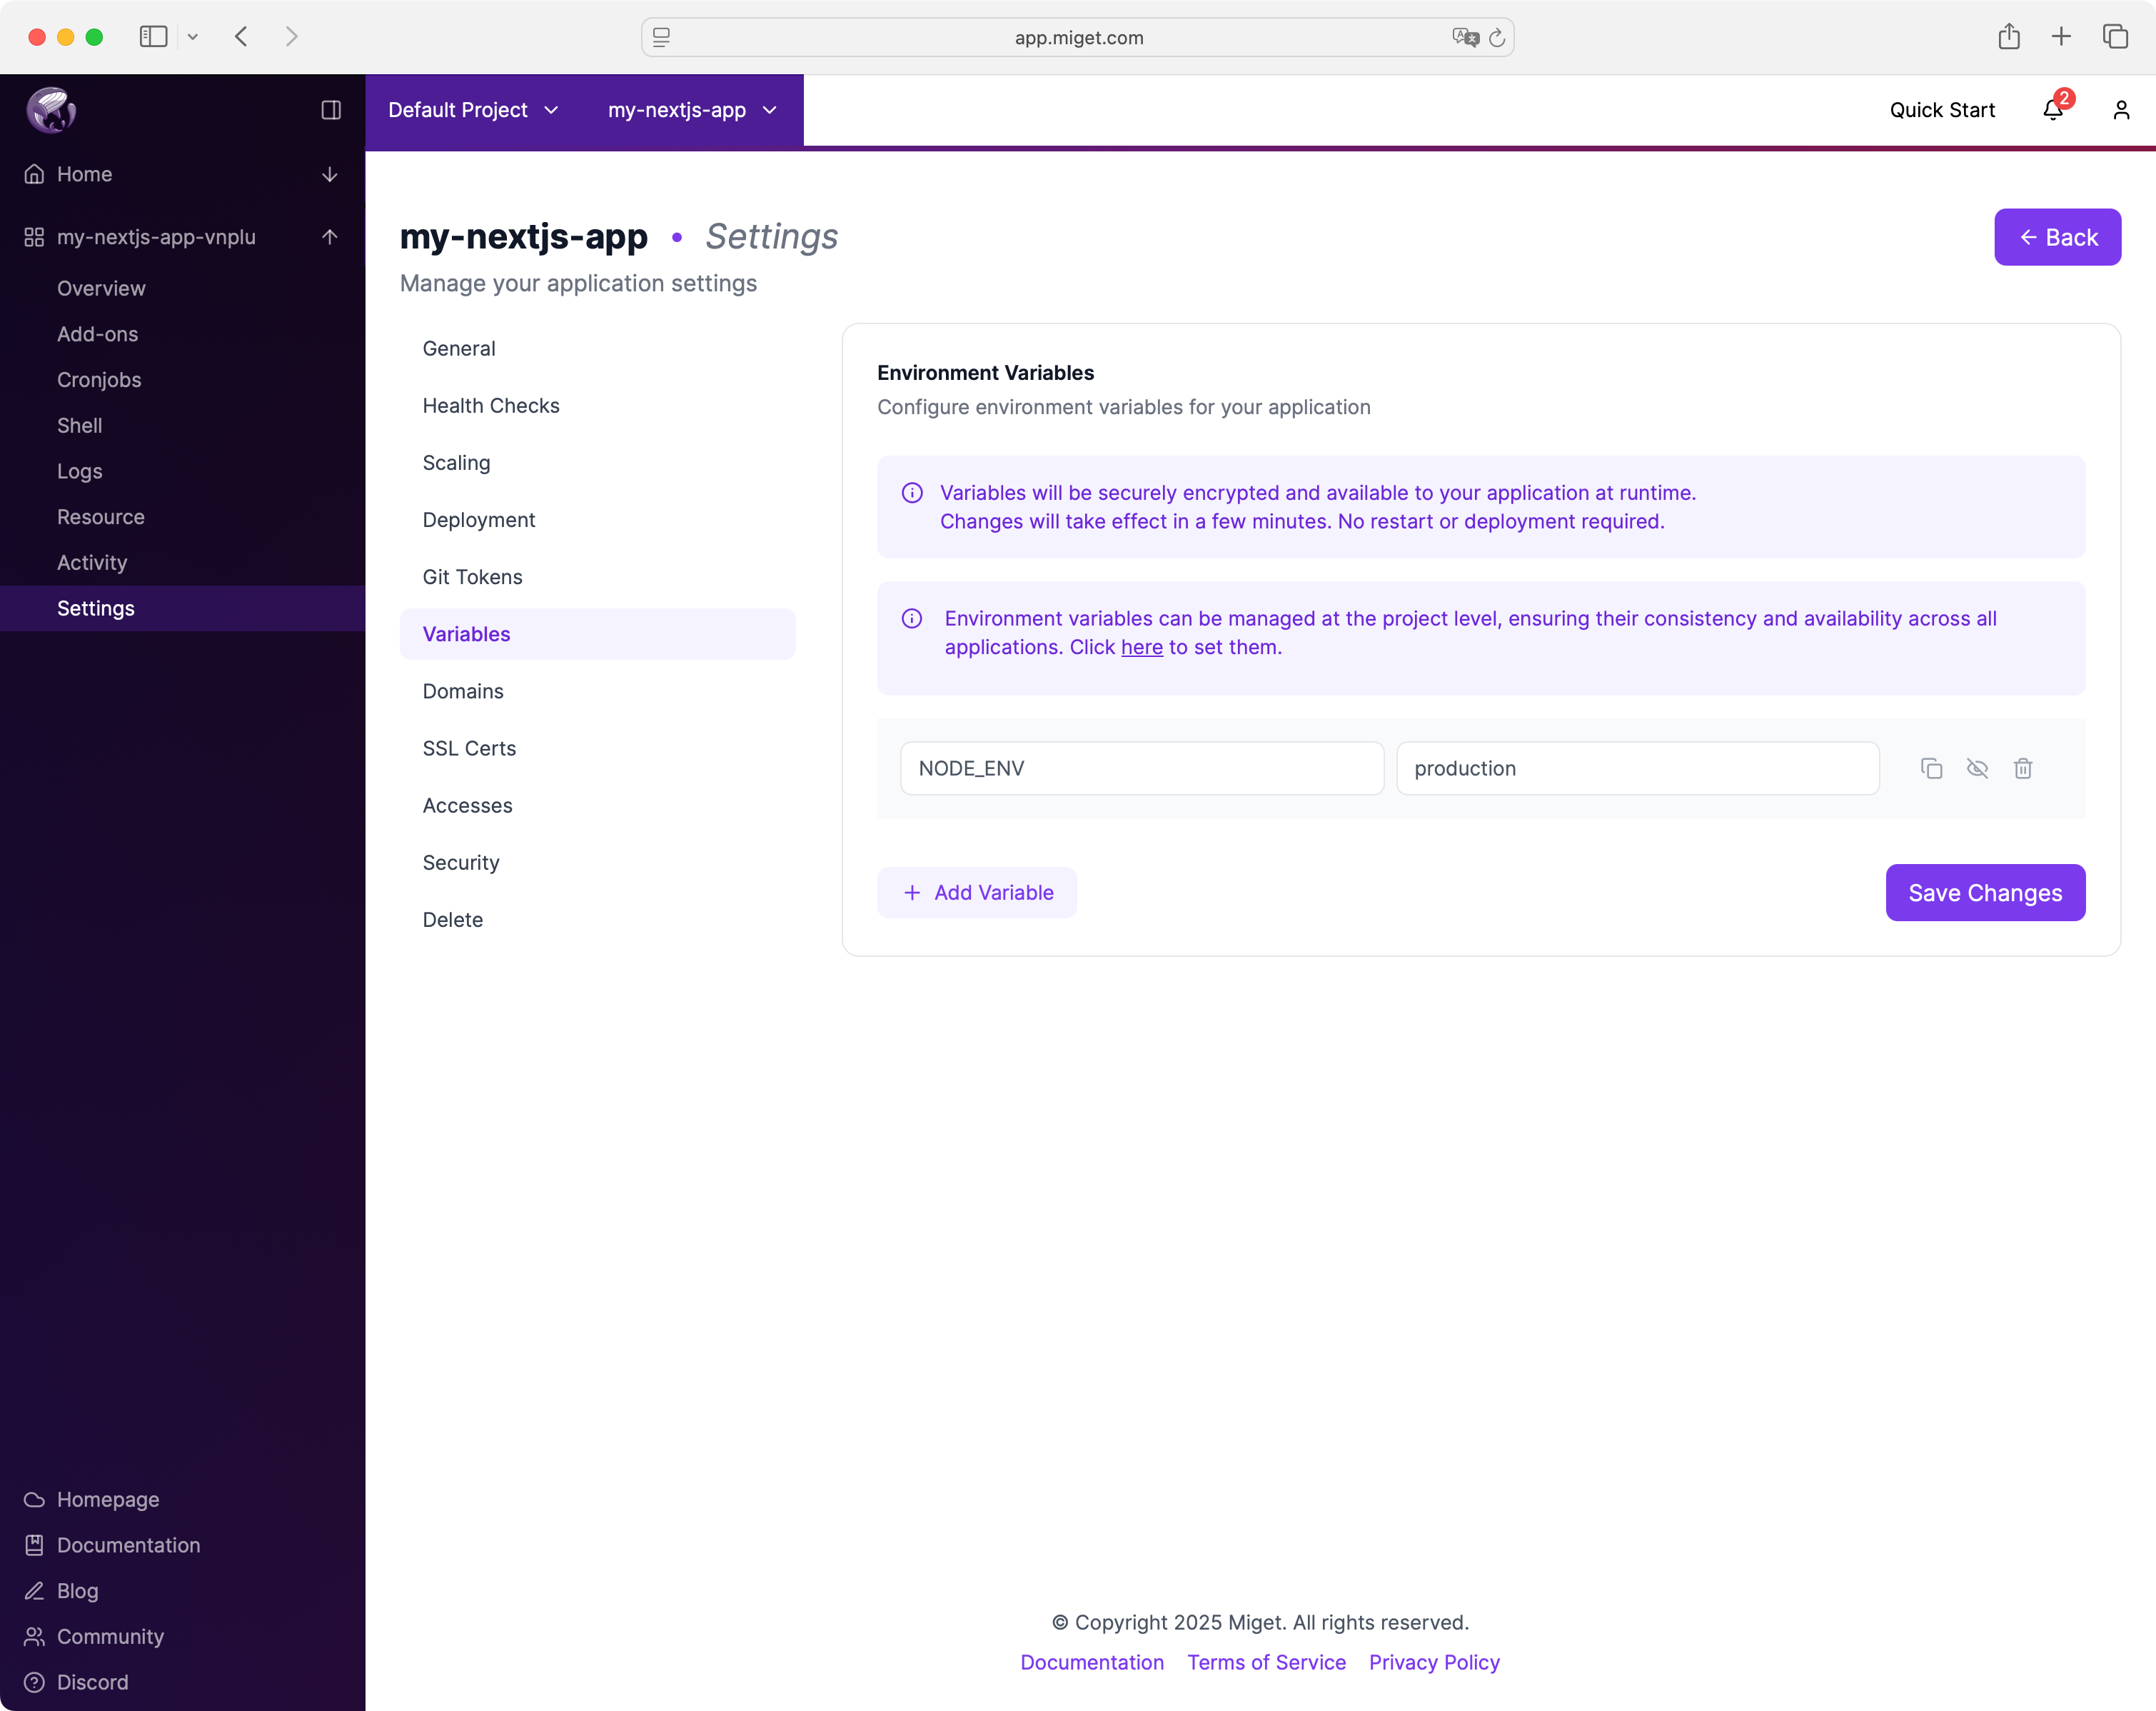
Once the app is created, you need to add NODE_ENV variable to your newly created App. To do so, click Settings, then Variables. Add NODE_ENV as a key, and production as a value, then click Save Changes
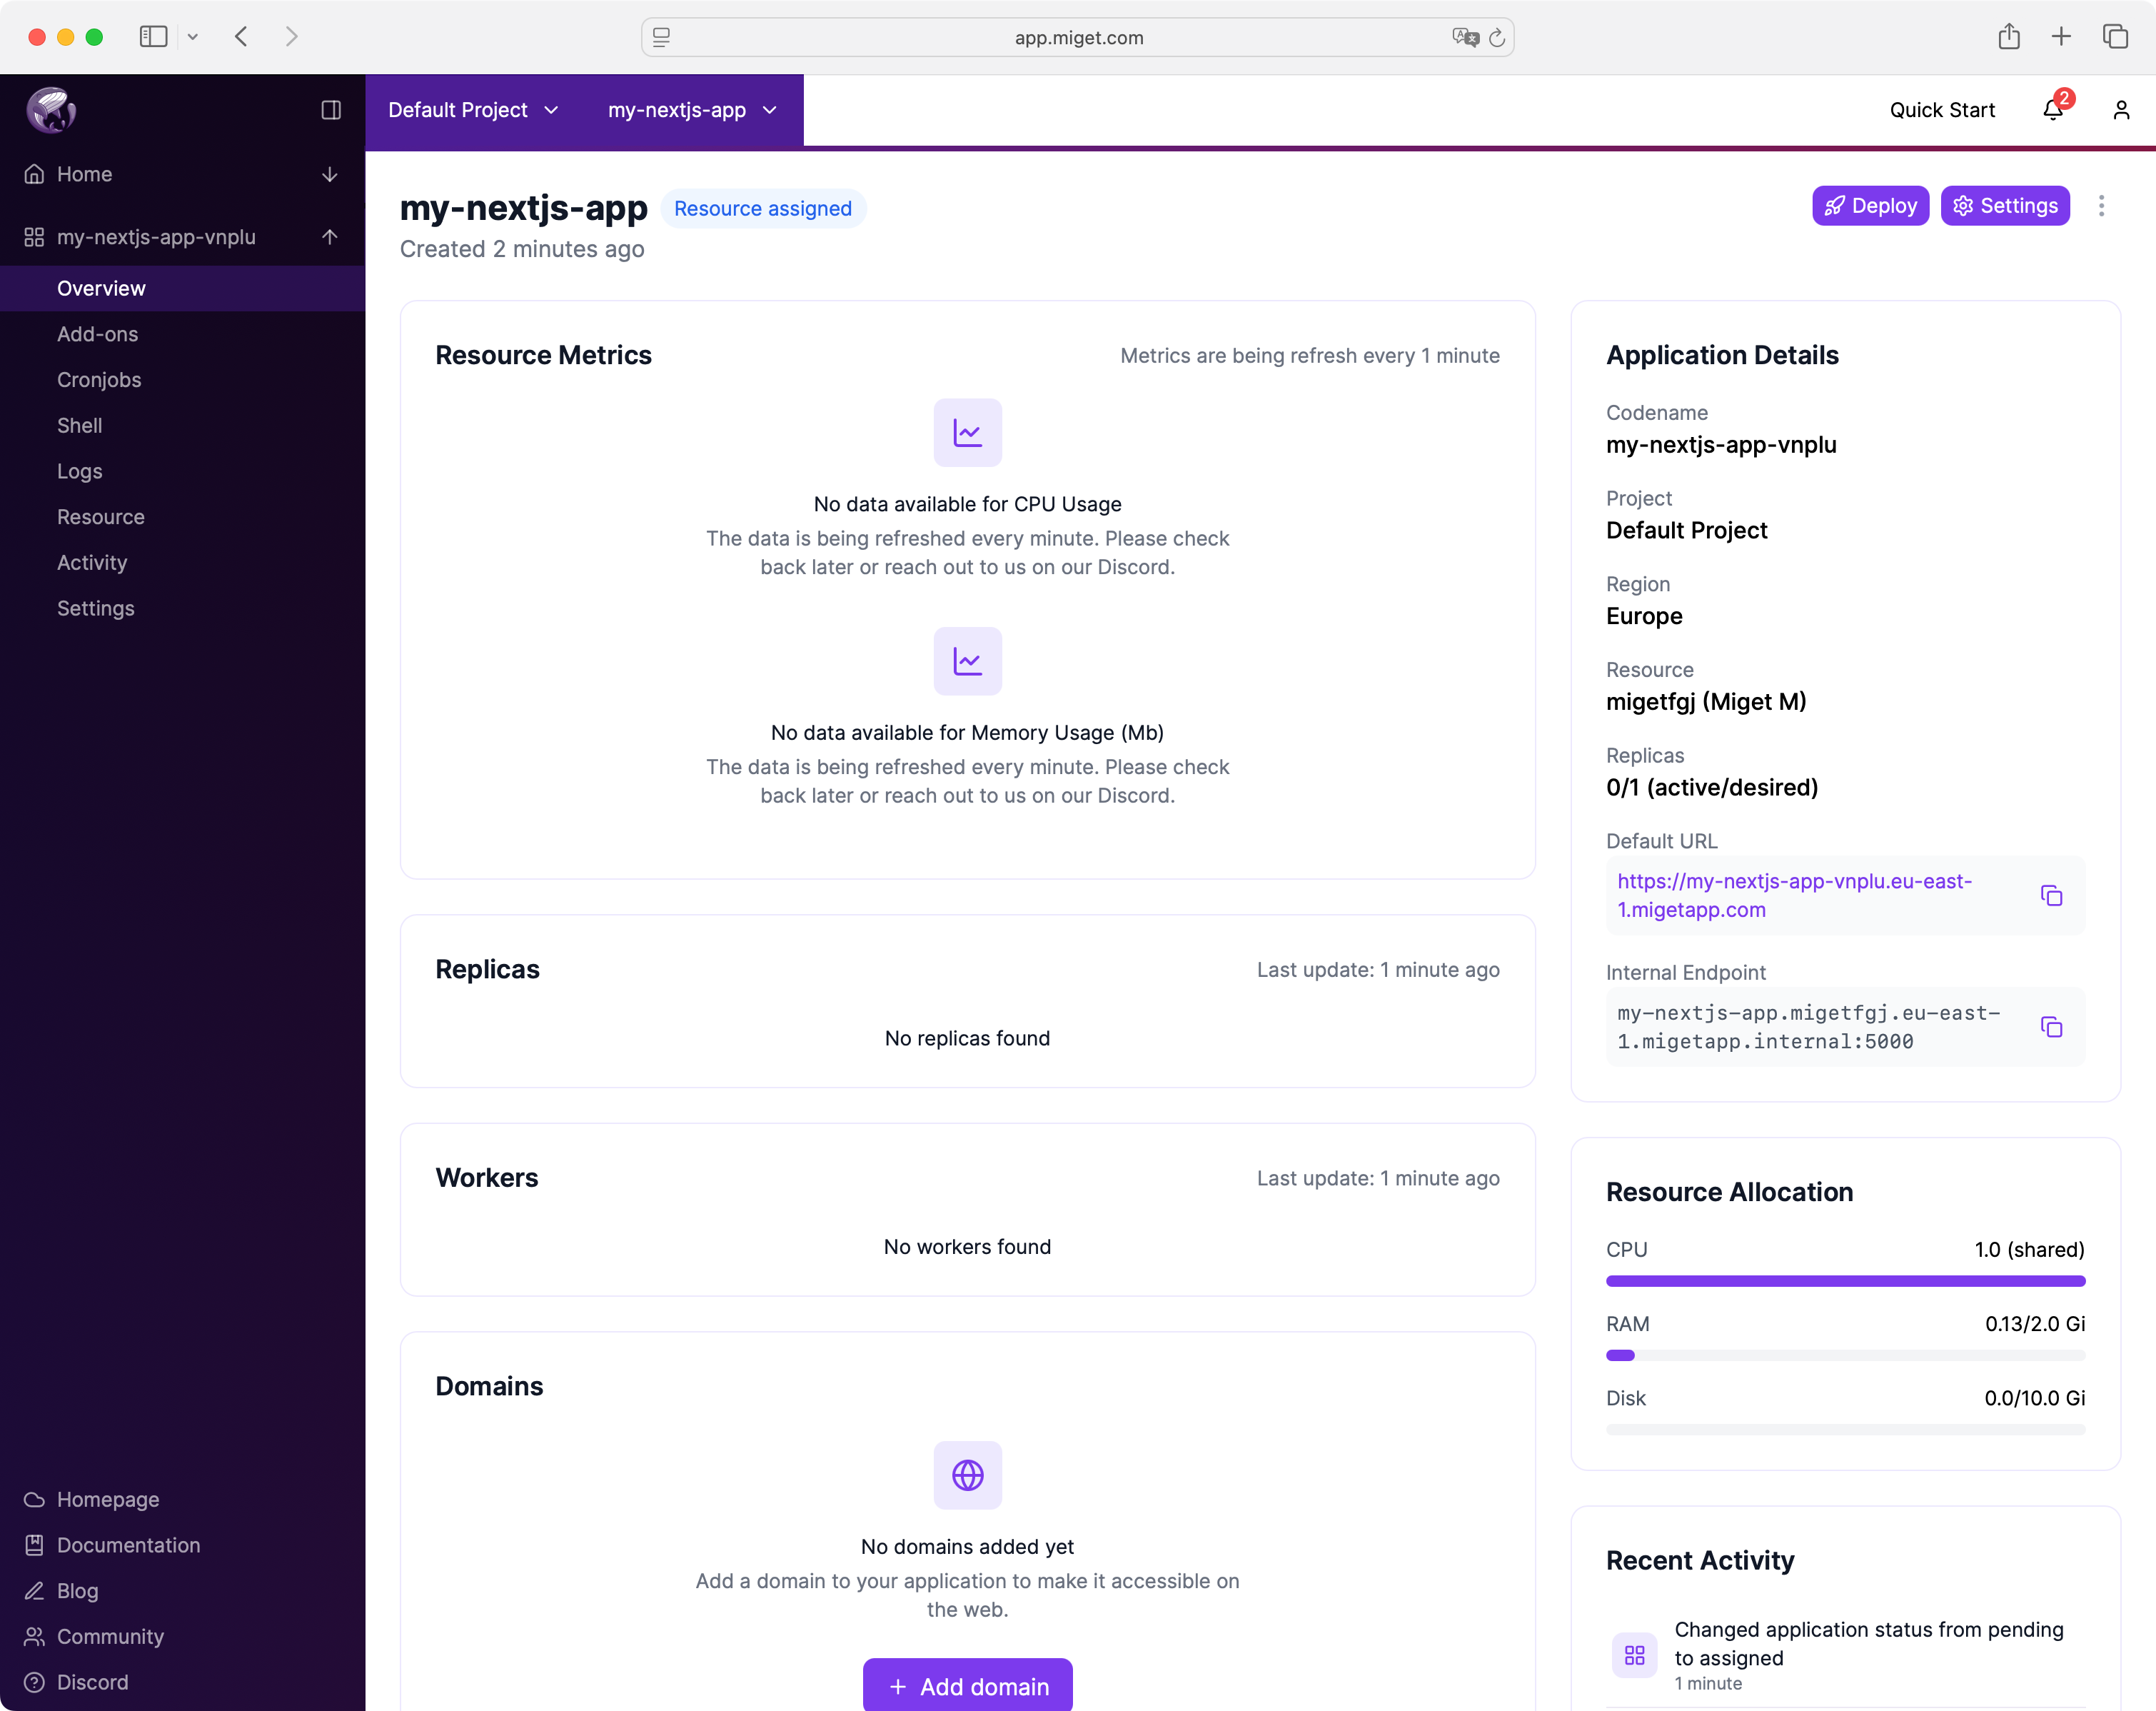
Now, you can deploy your Next.js to Miget. Click Deploy button to start the deployment process.
You have been redirected to the Settings > Git Tokens section. Add a new token to enable Git-based deployment. The token acts as the password, while the username is auto-generated based on the token name.
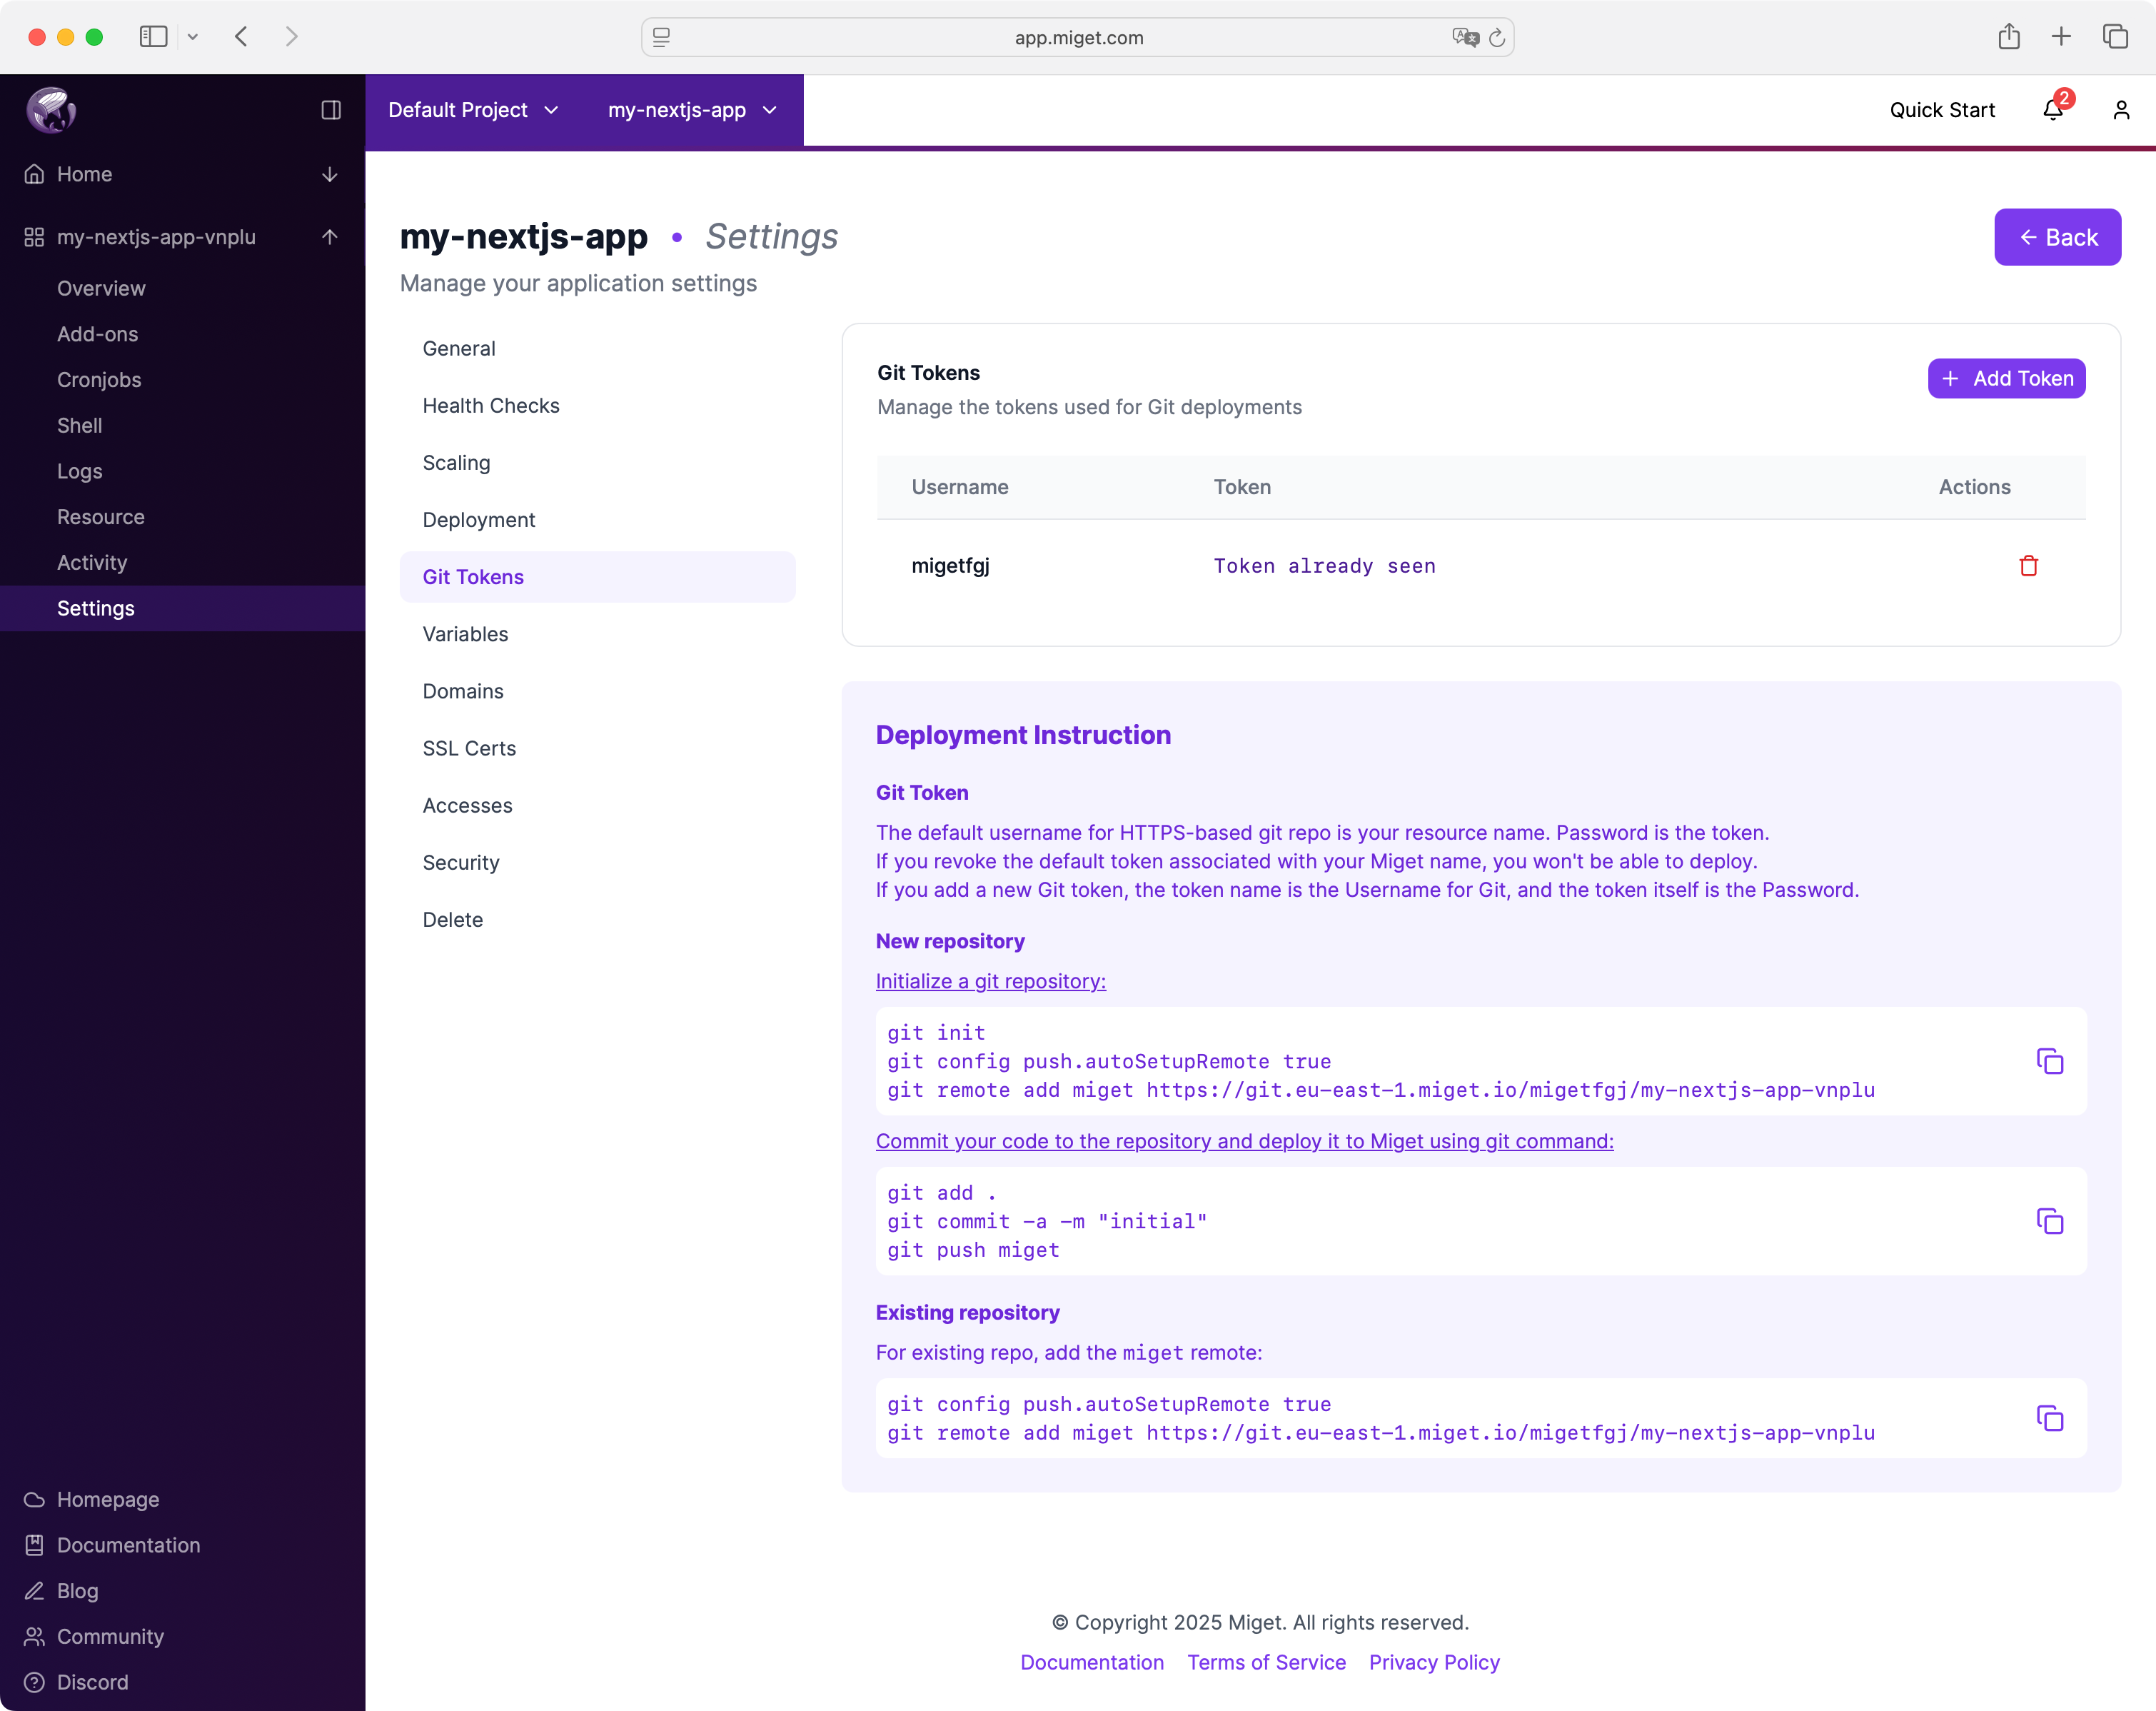
Deploy your Next.js app to Miget
Initialize git and push:
cd hello-world-app
git init
git add .
git commit -m "Initial Next.js 15 app"
git config push.autoSetupRemote true
git remote add miget <YOUR‑MIGET‑GIT‑URL>
git push miget main
Miget Platform auto-detects Next.js, uses Paketo, and deploys with HTTPS, scaling, and automatic builds.
Final Thoughts
Deploying Next.js doesn’t need to be complicated. With Paketo Buildpacks and Miget Platform, you get fast, secure deployment without needing Docker expertise.
What to read next
- Migetpacks vs Paketo: Zero-Config Docker Builds Compared - How migetpacks improves on Paketo for zero-config builds
- Deploy Any Language to Docker Without Writing a Dockerfile - Buildpack support for 14 languages beyond Node.js
- Preview Environments for Every Pull Request - Automatically deploy PR previews for your Next.js app